Buying a quality anchor winch is only half the battle. Getting it properly installed is where many boaters hesitate, especially those who have never fitted one before. The good news is that Lonestar anchor winches are specifically designed to make the installation process as straightforward as possible, whether you are a confident DIYer or fitting your first winch.
Why Installation Ease Matters
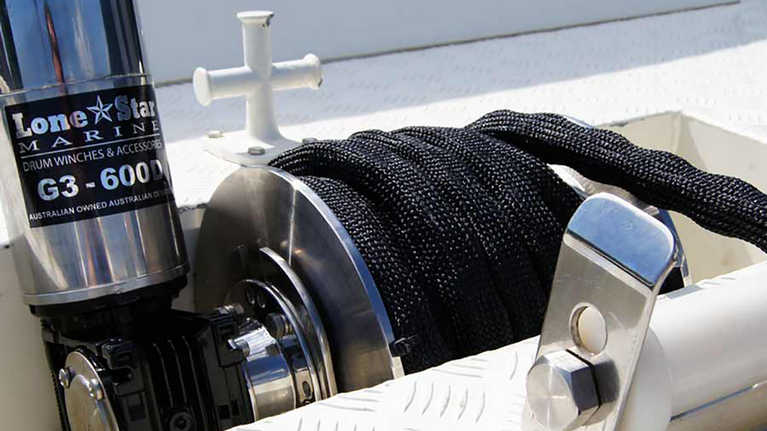
Not all anchor winches are created equal when it comes to fitting. Traditional windlass systems require a dedicated anchor locker with sufficient vertical drop below deck, which can involve significant structural work on some boats. Drum winches like the Lonestar GX Series remove that requirement entirely, giving you more flexibility in where and how you mount the unit. For most recreational boaters, this translates to a cleaner, faster, and less expensive installation process.
What Comes in the Box
Lonestar anchor winches come with comprehensive installation instructions and all the mounting hardware you need to get started. Each winch is matched to a specific rope and chain kit to ensure the drum fills correctly without overloading. Wiring loom options are also available as pre-made cable sets, which simplify the electrical side of the installation considerably. The motor comes pre-set to a default position but can be rotated to 24 different positions, giving you the flexibility to work around tight or unusual deck layouts right out of the box.
Tools and Equipment Needed for Installation
Before you start, it helps to know what you are working with. A well-equipped lonestar anchor winch installation typically requires basic hand tools such as a drill, spanners, and screwdrivers, along with electrical tools including wire cutters, a crimping tool, and a multimeter for checking connections. You will also need appropriately sized marine-grade cable and a dedicated circuit breaker if these are not already part of your boat’s electrical system. The mounting surface needs to be flat and structurally solid enough to handle the working load of the winch under real anchoring conditions.
Step-by-Step Installation Overview
The installation process follows a logical sequence that most handy boaters can work through without professional help. Start by choosing and preparing your mounting location, keeping the drum positioned centrally over the bow sprit within 20 percent of the centre line for even line lay. Rotate the motor to the best position for your available space before securing the winch to the deck using the supplied hardware. Run your electrical wiring from the battery through a dedicated circuit breaker to the solenoid, using correctly sized cable to avoid voltage drop under load. Once wired, spool the rope and chain kit onto the drum under load for the first time to set the line correctly. Test the winch fully before heading out on the water, and register your warranty within 30 days of purchase to activate full coverage.
Key Installation Tips
A few simple habits during installation will save you headaches later. Always mount the winch centrally to the bow sprit so the rope fills the drum evenly rather than bunching to one side. Never overfill the drum beyond the capacity of the matched rope and chain kit. Spool the line under load on first use to prevent it from digging into itself during later operation. On the electrical side, keep cable runs as short and direct as possible, and always use marine-grade tinned cable rather than standard automotive wire.
When to Seek Professional Help
While Lonestar winches are designed for DIY installation, some situations are better handled by a professional. Boats with complex electrical systems, non-standard bow configurations, or very limited deck space may benefit from the expertise of an authorized dealer or fitter. Larger models such as the GX5 and GX6 are also more involved to install due to their size and power requirements, and professional fitting is worth considering for those units. Authorized Lonestar dealers and mobile fitters are available in most regions and can handle everything from placement advice through to full installation and testing.
Installation by Model
The GX1 and GX2 are the most compact and lightweight models in the range, making them the simplest to install and ideal for smaller boats. The GX3 and GX4 are the most commonly installed models by confident DIYers and suit mid-size recreational and fishing vessels. The GX5 and GX6 are larger units that are better suited to professional installation on bigger boats. For boats with very limited deck space, the GX1-P integrates a bow sprit into the winch design and can be installed in as little as 8 inches of deck space, making it one of the most space-efficient options in the range.
Parting Advice
For most recreational boaters, installing a Lonestar anchor winch is a manageable DIY project. The included instructions, mounting hardware, and flexible motor positioning take much of the guesswork out of the process. Follow the basic guidelines around mounting position, electrical sizing, and first-use spooling, and you will have a reliable, high-performing winch ready to go. If your setup is more complex, authorized fitters are available to ensure everything is done correctly from the start.